Homemade Sandwich Bread (Beginner-Friendly)
Why This Homemade Sandwich Bread Recipe is Perfect for Beginners
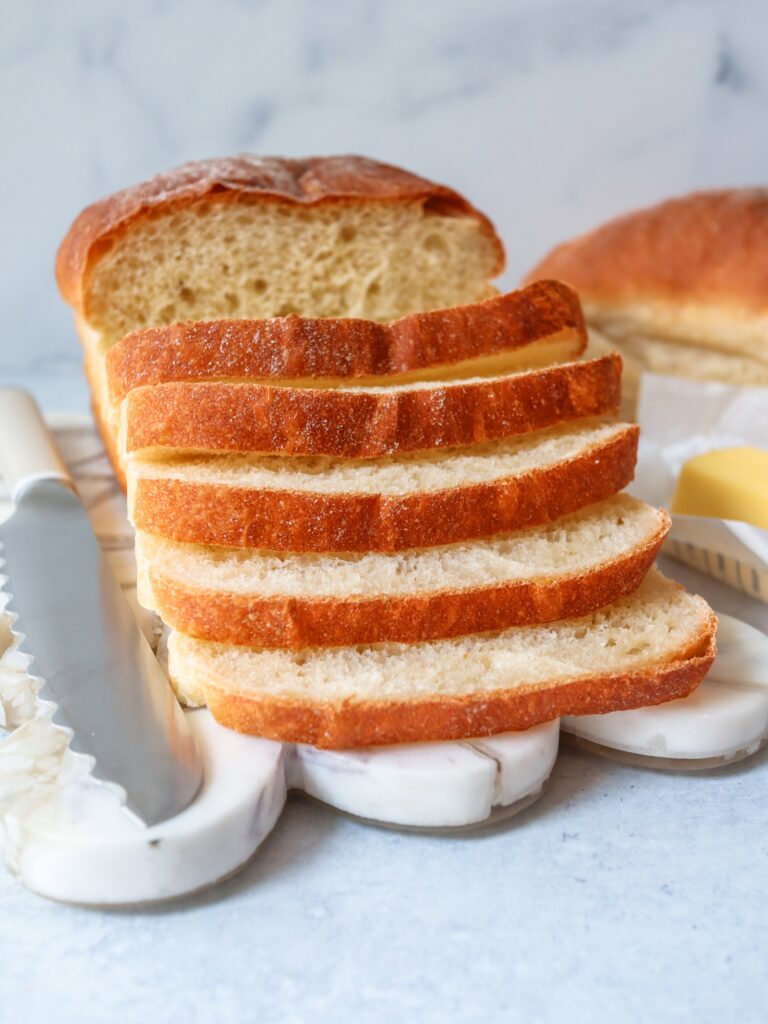
There’s nothing quite like the smell of freshly baked bread filling your home. After months of testing and perfecting this sandwich bread recipe, we are excited to share it with you! This recipe produces two perfect loaves of homemade sandwich bread with a soft, tender crumb that’s ideal for everything from PB&Js to gourmet grilled cheese sandwiches.
What makes this bread special is its consistently excellent results, even for first-time bakers. The detailed instructions take all the guesswork out of bread making, giving you bakery-quality results in your own kitchen.
Homemade Sandwich Bread: Quick Overview
Prep Time: 30 minutes
Rise Time: 2 hours
Bake Time: 30-35 minutes
Total Time: About 3 hours
Yield: 2 loaves (9″x5″ pans)
Difficulty: Beginner-friendly
What You’ll Need
Equipment
Essential
- Stand mixer with dough hook attachment
- Food scale (highly recommended for accuracy)
- Measuring cups and spoons (if not using a kitchen scale)
- Cooking thermometer
- Large mixing bowl
- Two 9″x5″ bread pans
- Parchment paper
- Cooling rack
- Bread knife
- Organic cotton bread cloth or clean kitchen towel
Optional
Ingredients
- 506.25 grams (2¼ cups) warm water (100°F)
- 4½ teaspoons active dry yeast
- 49.5 grams (¼ cup) sugar
- 17 grams (1 tablespoon) salt
- 49.5 grams (¼ cup) avocado oil, plus extra for oiling the bowl
- 750 grams (6 cups) organic unbleached all-purpose flour
How To Make Perfect Sandwich Bread
Step 1: Activate the Yeast
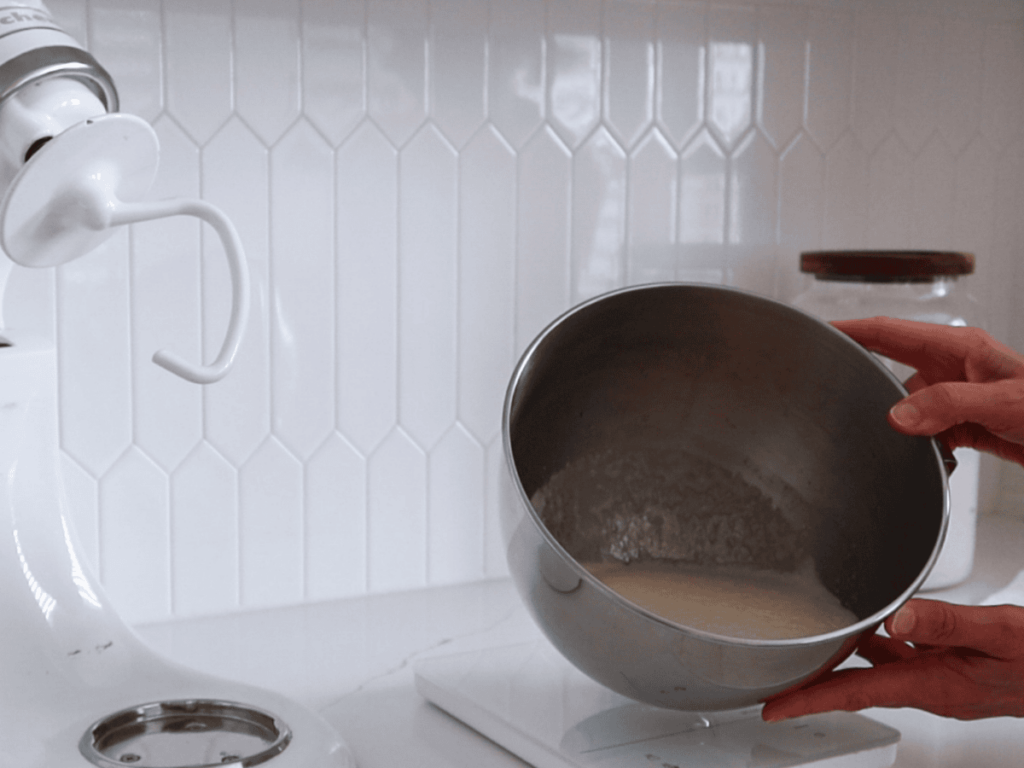
- In a large mixing bowl, whisk together the warm water (100°F), active dry yeast, and sugar.
- Cover with a cotton bread cloth or clean kitchen towel and let sit for 5 minutes.
How do you know if your yeast is active? The mixture should become foamy and develop a yeasty aroma. If you don’t see foam, your yeast might be inactive and should be replaced.
Step 2: Form the Dough
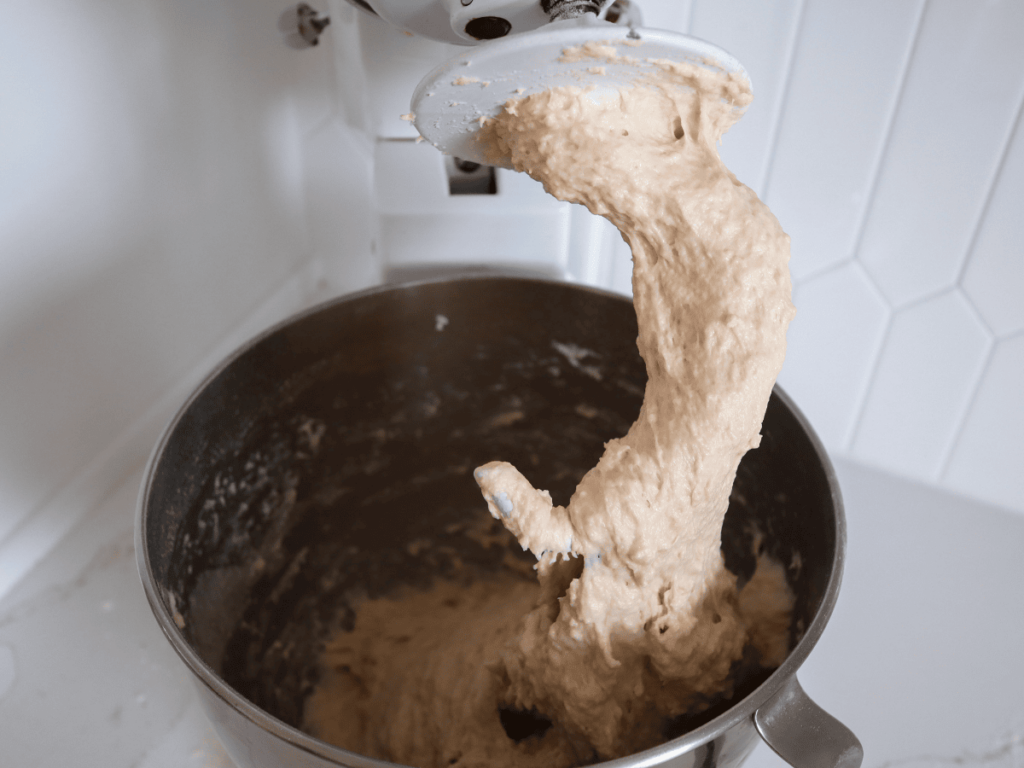
- Add the salt and avocado oil to your yeast mixture.
- Using a stand mixer with the dough hook attachment, add the flour one cup at a time, mixing until all flour is incorporated and starts pulling away from the side of your mixing bowl.
- Continue mixing for 5-7 minutes.
What texture should the dough have? The dough is ready when it’s slightly sticky and pulls easily from the sides of the bowl. It should feel smooth and elastic.
Step 3: First Rise
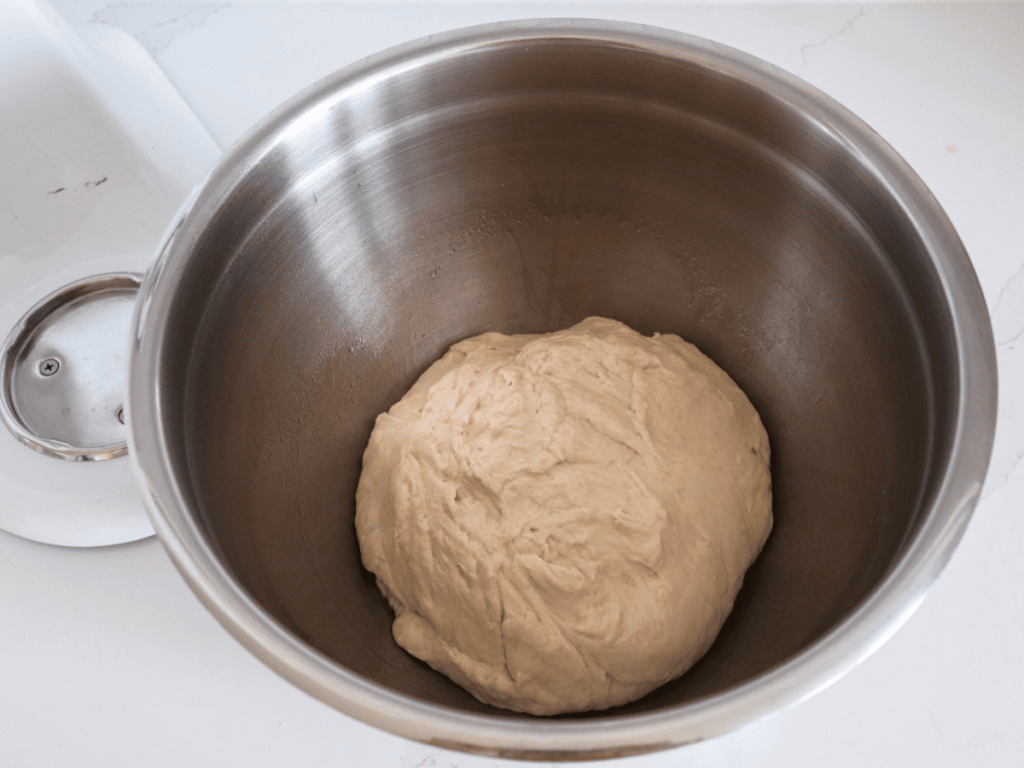
- Using a bowl scraper or spatula, roll the bread dough into a ball and place in an oiled bowl.
- Cover with a cotton bread cloth or clean kitchen towel.
- Let rise for 1 hour at room temperature. (Alternative: Place uncovered in the oven or a proofer set to the recommended temperature (typically 80-85°F for sandwich bread).
How do you know when the first rise is complete? The dough should approximately double in size and feel light and airy when gently poked.
Step 4: Shape the Loaves
- Place dough on a lightly floured surface.
- Knead gently for 1 minute to remove air bubbles.
- Divide the dough in half with a sharp knife or bench knife.
- Shape each half into a loaf:
- Pat the dough into a rectangle about 8″ wide and 6″ tall
- Fold the top third down toward the center
- Fold the bottom third up over the top
- Pinch the seam to seal
- Tuck the ends under and place seam-side down in the pan
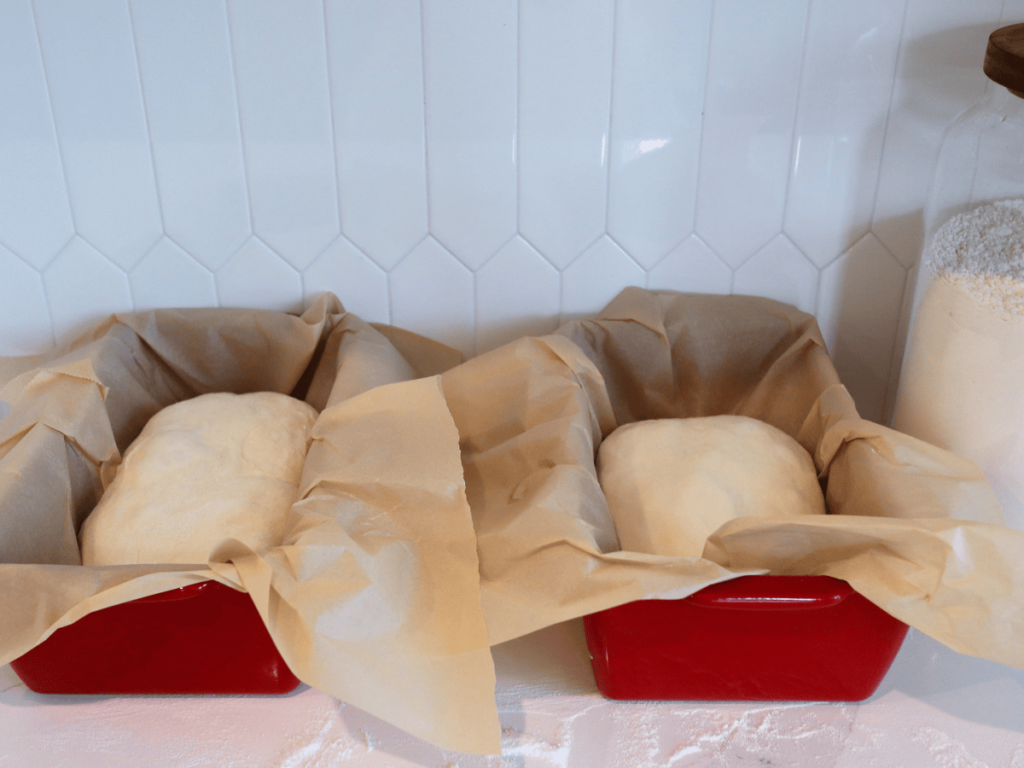
- Place each shaped loaf into a bread pan lined with parchment paper or lightly oiled.
Step 5: Second Rise
- Cover the bread pans with a cotton bread cloth or clean kitchen towel.
- Let rise for 1 hour or until the dough has risen about 1 inch above the rim of the pan. (Alternative: Place uncovered bread pans in your proofer for 1 hour.)
- Begin preheating your oven to 375°F 15 minutes before the proofing time is complete.
Step 6: Baking
- Place bread pans on the lower rack of your preheated oven.
- Bake for 30-35 minutes.
- The bread is done when the internal temperature reaches 195°F and the crust is golden brown. (Tip: Use a cooking thermometer to ensure accuracy.) Start checking the temperature 10-15 minutes before your timer goes off – some ovens cook quicker than others.
Why 195°F? This temperature ensures that the interior structure of the bread is fully set while maintaining moisture for a tender crumb.
Step 7: Cooling and Storing
- Remove bread from pans immediately after baking. (We like using our heat-resistant oven gloves.)
- Place bread loaves on a cooling rack until completely cooled to room temperature (at least 1 hour).
- Slice with a serrated bread knife only after the bread has fully cooled.
Why cool completely before slicing? Allowing bread to cool completely before slicing gives the structure time to set, resulting in better texture and easier slicing.
Expert Tips for Perfect Sandwich Bread
How do you know when bread is done baking?
The most reliable way to test if your sandwich bread is fully baked is to check the internal temperature with a cooking thermometer. The bread is done when it reaches 195°F. The crust should also be evenly golden brown.
What causes dense or heavy sandwich bread?
Dense bread is typically caused by:
- Underproofed dough (not enough rising time)
- Insufficient kneading (gluten not developed)
- Too much flour (dough too dry)
- Inactive yeast
How do you store homemade sandwich bread?
- Room temperature: Store in a bread box or BPA-free bread bags for 2-3 days.
- Long-term storage: Slice and freeze in an airtight container or doubled bread bags for up to 3 months.
Can I make this sandwich bread without a stand mixer?
Yes! While a stand mixer makes the process easier, you can knead the dough by hand for 8-10 minutes until smooth and elastic.
Want to Master Bread Making?
If you enjoyed this recipe, you might be interested in our comprehensive “Knead to Know: A Beginner’s Workbook for Perfect Sandwich Bread” guide. This downloadable workbook includes:
- Detailed explanations of the science behind perfect sandwich bread
- Troubleshooting guides for common issues
- A bread baking journal to track your progress
- Advanced techniques and variations
Sign up for your free copy of “Knead to Know” below.
More Homemade Bread Recipes You’ll Love
Print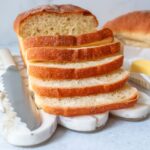
Homemade Sandwich Bread (Beginner-Friendly)
- Prep Time: 30 minutes
- Rise Time: 2 hours
- Cook Time: 35 minutes
- Total Time: 3 hours 5 minutes
- Yield: 2 loaves 1x
- Category: Bread
- Method: Bake
Description
This beginner-friendly recipe creates two loaves of Homemade Sandwich Bread with soft texture and golden crust.
Ingredients
- 506.25 grams (2 1/4 cups) warm water (100°F)
- 4 1/2 teaspoons active dry yeast
- 49.5 grams (1/4 cup) sugar
- 17 grams (1 tablespoon) salt
- 49.5 grams (1/4 cup) avocado oil, plus extra for oiling bowl
- 750 grams (6 cups) organic unbleached all-purpose flour
Instructions
- Activate yeast: In a large bowl, whisk together warm water (100°F), yeast, and sugar. Cover and let sit 5 minutes until foamy.
- Form dough: Add salt and oil to yeast mixture. Using stand mixer with dough hook, add flour one cup at a time. Mix 5-7 minutes until smooth and elastic.
- First rise: Place dough in oiled bowl, cover with towel, and let rise for 1 hour at room temperature until doubled. (Alternative: Place uncovered in a proofer set to the recommended temperature (typically 80-85°F for sandwich bread).
- Shape loaves: Divide dough in half. Shape each into a loaf by patting into a rectangle, folding the top third down, bottom third up, pinching the seam, and tucking ends under. Place in lined 9″x5″ pans.
- Second rise: Cover pans with towel and let rise 1 hour until dough is 1 inch above pan rim. (Alternative: Place uncovered bread pans in your proofer for 1 hour). Preheat oven to 375°F.
- Bake: Place pans on lower oven rack for 30-35 minutes until internal temperature reaches 195°F and crust is golden brown. Start checking the temperature 10-15 minutes before your time goes off using a cooking thermometer.
- Cool: Remove from pans immediately. Cool completely on rack (at least 1 hour) before slicing.
Notes
This recipe makes 2 loaves of Homemade Sandwich Bread. If you want 1 loaf, simply cut the recipe in half.
Nutrition
- Serving Size: 1 slice (based on 16 slices per loaf)
- Calories: 120
- Sodium: 150mg
- Fat: 2g
- Carbohydrates: 22g


I will never go back to storebought after having this bread. It is truly the BEST sandwich bread, and super easy to make!
I love this straight
forward recipe with consistent results and just a few
ingredients.
Good luck finding something this good and fresh at the store. I am so disappointed now when we run out. Truly one of my favorites on this site.